*to protect privacy, no names or pictures of guests are included in this post
Date: Saturday October 2, 2010
Location: Casaloma, Toronto ON
Guests: 15, ages 6 to adult
Theme: Medieval
Budget: $500

Details:
The party package available at Casaloma includes:
- 2 hours
- up to 12 children
- admission to the castle and grounds
- rental of the Austin Room for your private event
- party supervisor/tour guide
- 1/2 hour guided tour
- 2 photo cut outs for photo opportunities
- craft activity (make and decorate paper crown)
- lunch (we had grilled hot dogs and chips)
- juice and water
- cost-$450, additional food and guests extra
- guests are able to bring their own birthday cake/cupcakes

Decorations
- balloon bouquet
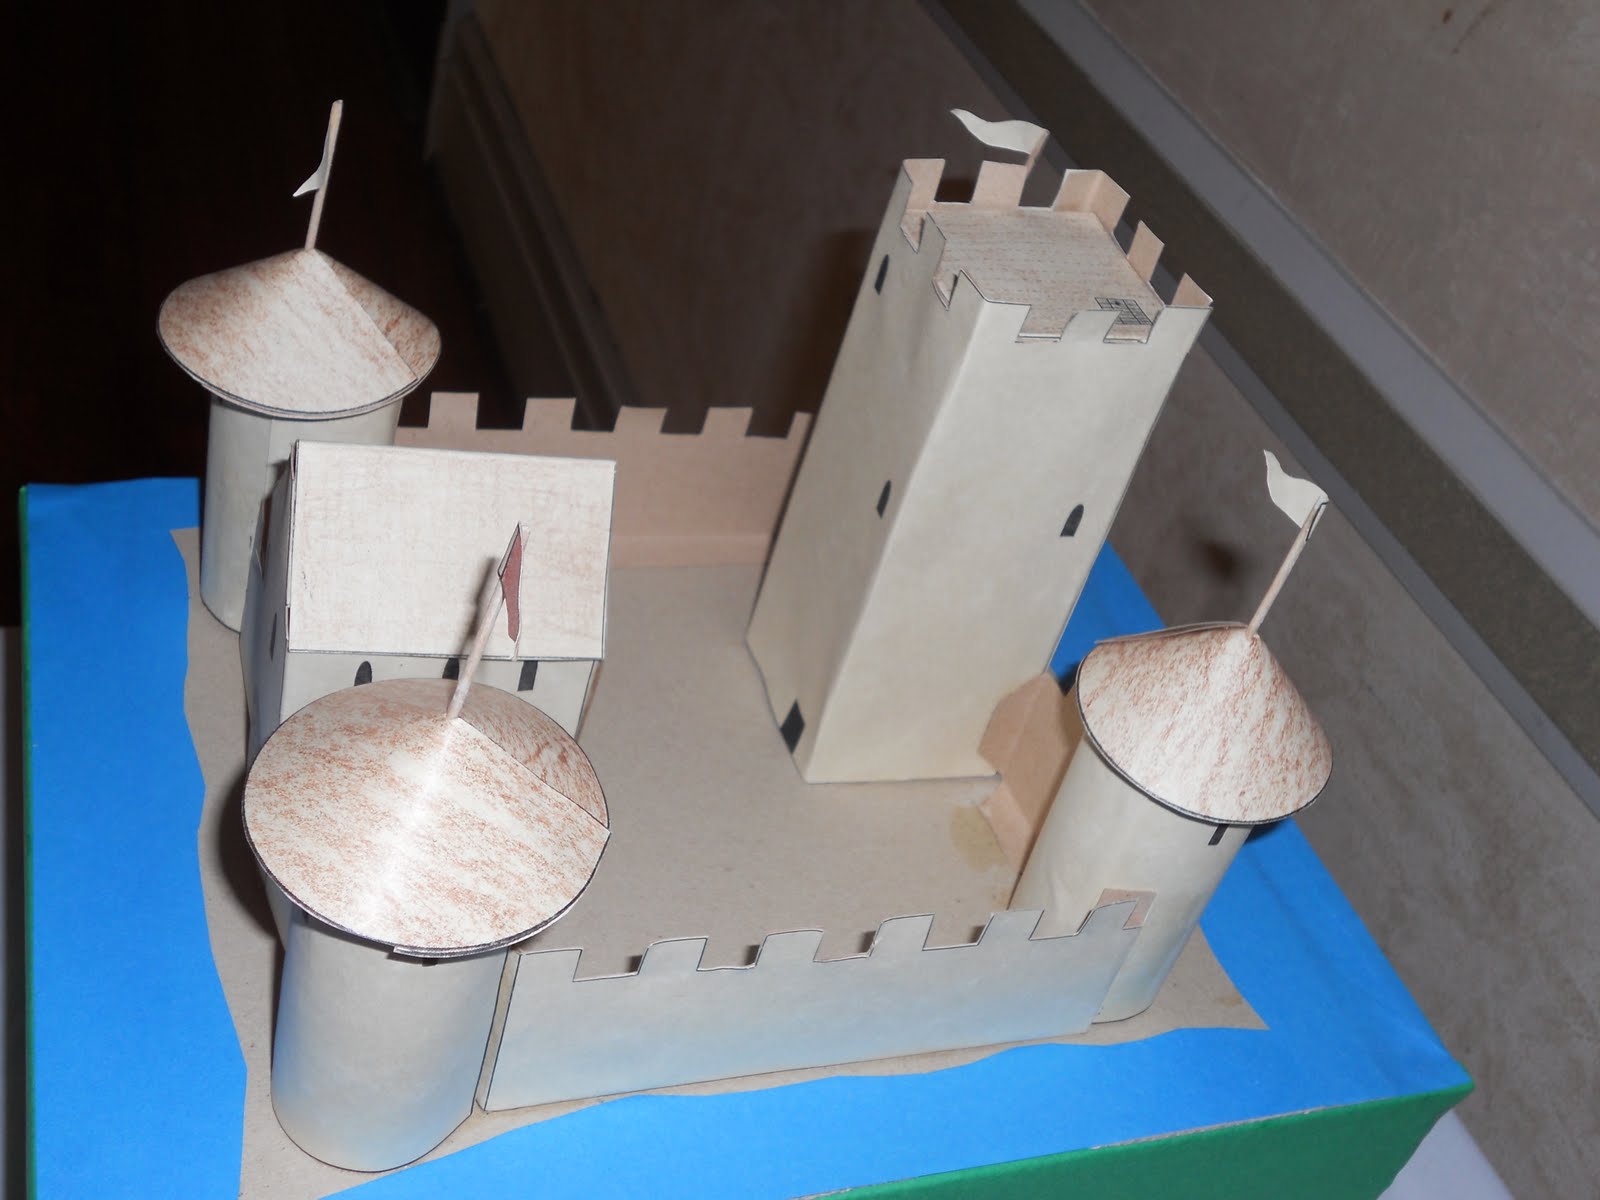
- paper castle centrepiece
- dragon pinata
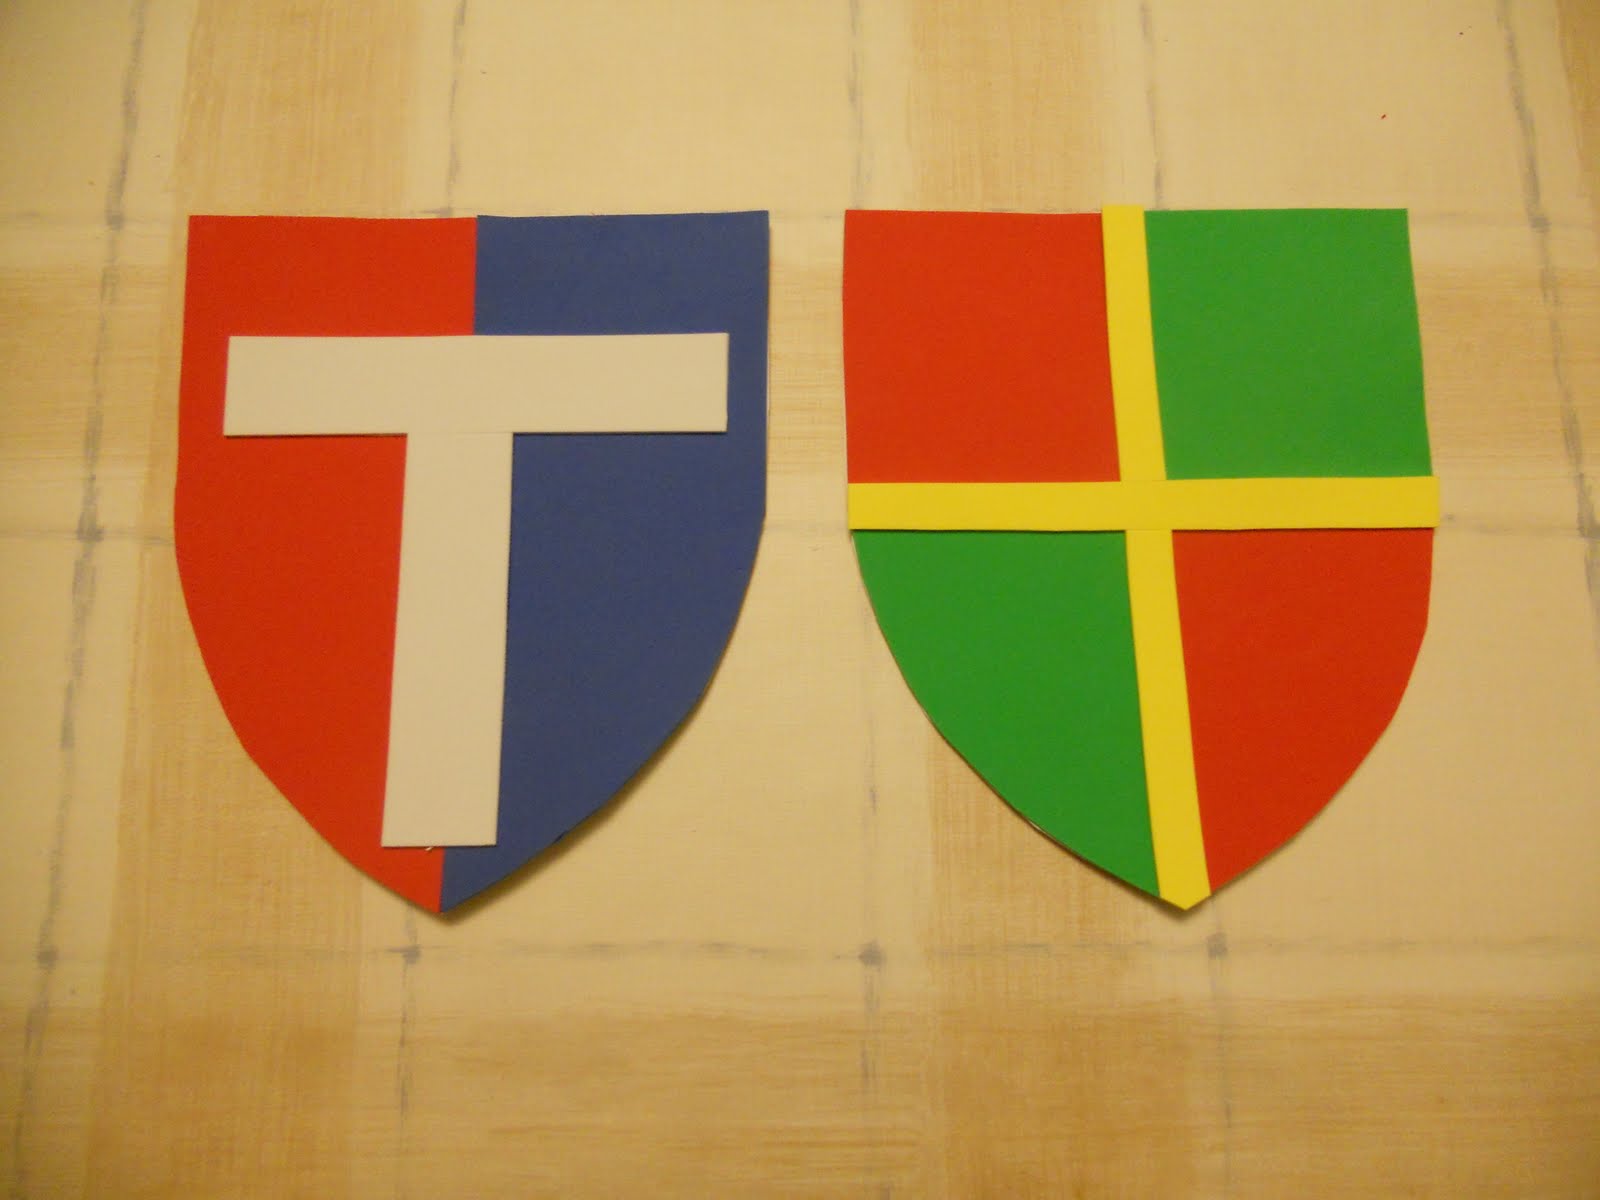
- craft foam shields

colouring pages and paper crowns
Activities:- make a paper crown
- guided tour
- dragon pinata
- cut outs for photos

Dragon pinata


King and Queen cut outs
LootbagsTaking advantage of the photo cuts, I took a photo of each child with the cut out. While the kids were taking the guided tour I printed out each photo with my portable photo printer. I picked up red and blue foam 4 x 6 picture frames from walmart. Very affordable-a pack of 2 costs $3.50. I put the pictures inside the frames for the kids and tucked them inside their lootbags. Inside the bags, I put a handful of foam craft stickers-castles, stars, swirls, hearts, so the kids could decorate the frames at home. I also threw in a handful of candy. After all, what's a lootbag without candy?

Photo station