Showing posts with label party. Show all posts

Tuesday, November 22, 2011

Re-post: Party Decor All Year Round

I have boxes, drawers and bags full of random odds and ends left over from parties. It can be difficult to figure out what to do with all these things, and I hate to throw things away-although I do donate things to charity a few times a year. This article from Apartment Therapy lists party items that can be re purposed.
I am loving the succulent wreath, the CB2 glass globe candle holder and the birch tree jewelery stand.


I've been doing lots of theme parties lately, and this inspires me to rethink re purposing common household items when decorating for parties, rather than buying new things all the time.

Click here for the link to the full post:

 Succulent Wreath, Viva Terra


Little Birch Jewelry Stand, Urban Outfitters

Whirly Hanging Candleholder, Cb2

 Images source: http://www.apartmenttherapy.com

Friday, July 22, 2011

Trend: Tissue Paper Petals

I've been seeing alot of diy projects using  layered tissue paper petals, to a great effect.

Isn't this tablescape so fabulous? So summery! The best part is those lanterns. This project comes to us via Martha Stewart, full instructions are here


 Image source: http://www.marthastewart.com

I think this is a great way to salvage cheaper paper lanterns that are not quite right.  I bought some cheapos once and they were definitely not perfectly round. Perhaps I could have saved them by covering them with tissue paper circles.  Apparently, you can buy the circles pre-cut at craft stores if you are not into cutting out dozens of circles yourself. Paper lanterns and tissue paper is very inexpensive, but what an impact! Great way to stretch your party budget.

I have also seen this method used to decorate pinatas. 


Image source: http://www.younghouselove.com

Here's a tutorial from one of my favourite blogs to read, Young House Love. This pinata was from their daughter's first birthday party.

Image source: http://www.everydaycelebrating.com

If you are not into getting messy with flour and glue,then this very similar project uses a store bought soccer ball pinata and just adds on the tissue paper "petals". Because it's uses a store bought form, it is perfectly round which might appeal to those perfectionists out there (ahem, me).
You can find more photos and instructions here

What a lovely alternative to those gaudy character pinatas you see everywhere in the store. I love the pretty, modern look of these.

Tuesday, June 14, 2011

Toy Story 4th Birthday Party

Date: June 4, 2011
Location: Mississauga, ON
Guests: 17 children (age range 1-8) plus about 30 adults
Budget: $40 (not including food)

*To protect privacy, no photos of guests are included in this post. 

This party was intended to be held outdoors in Erindale Park. Major thunderstorms forced a last minute change of plans-party was held at the client's house. While not ideal, I did manage to salvage most of the party plans. It cleared up in the afternoon, I was able to take the kids outside for a few games.

Concept: Woody's Round-Up.
Four stations with various activities, at each station the children received a prize.

Upon arrival, each guest received a cowboy party hat and a sheriff badge. 


I put out crayons and colouring sheets for the kids to do while we waited for all the guests to arrive.


Free download from the Disney website, you can find it here


Station #1: Mr. Potato Head

 
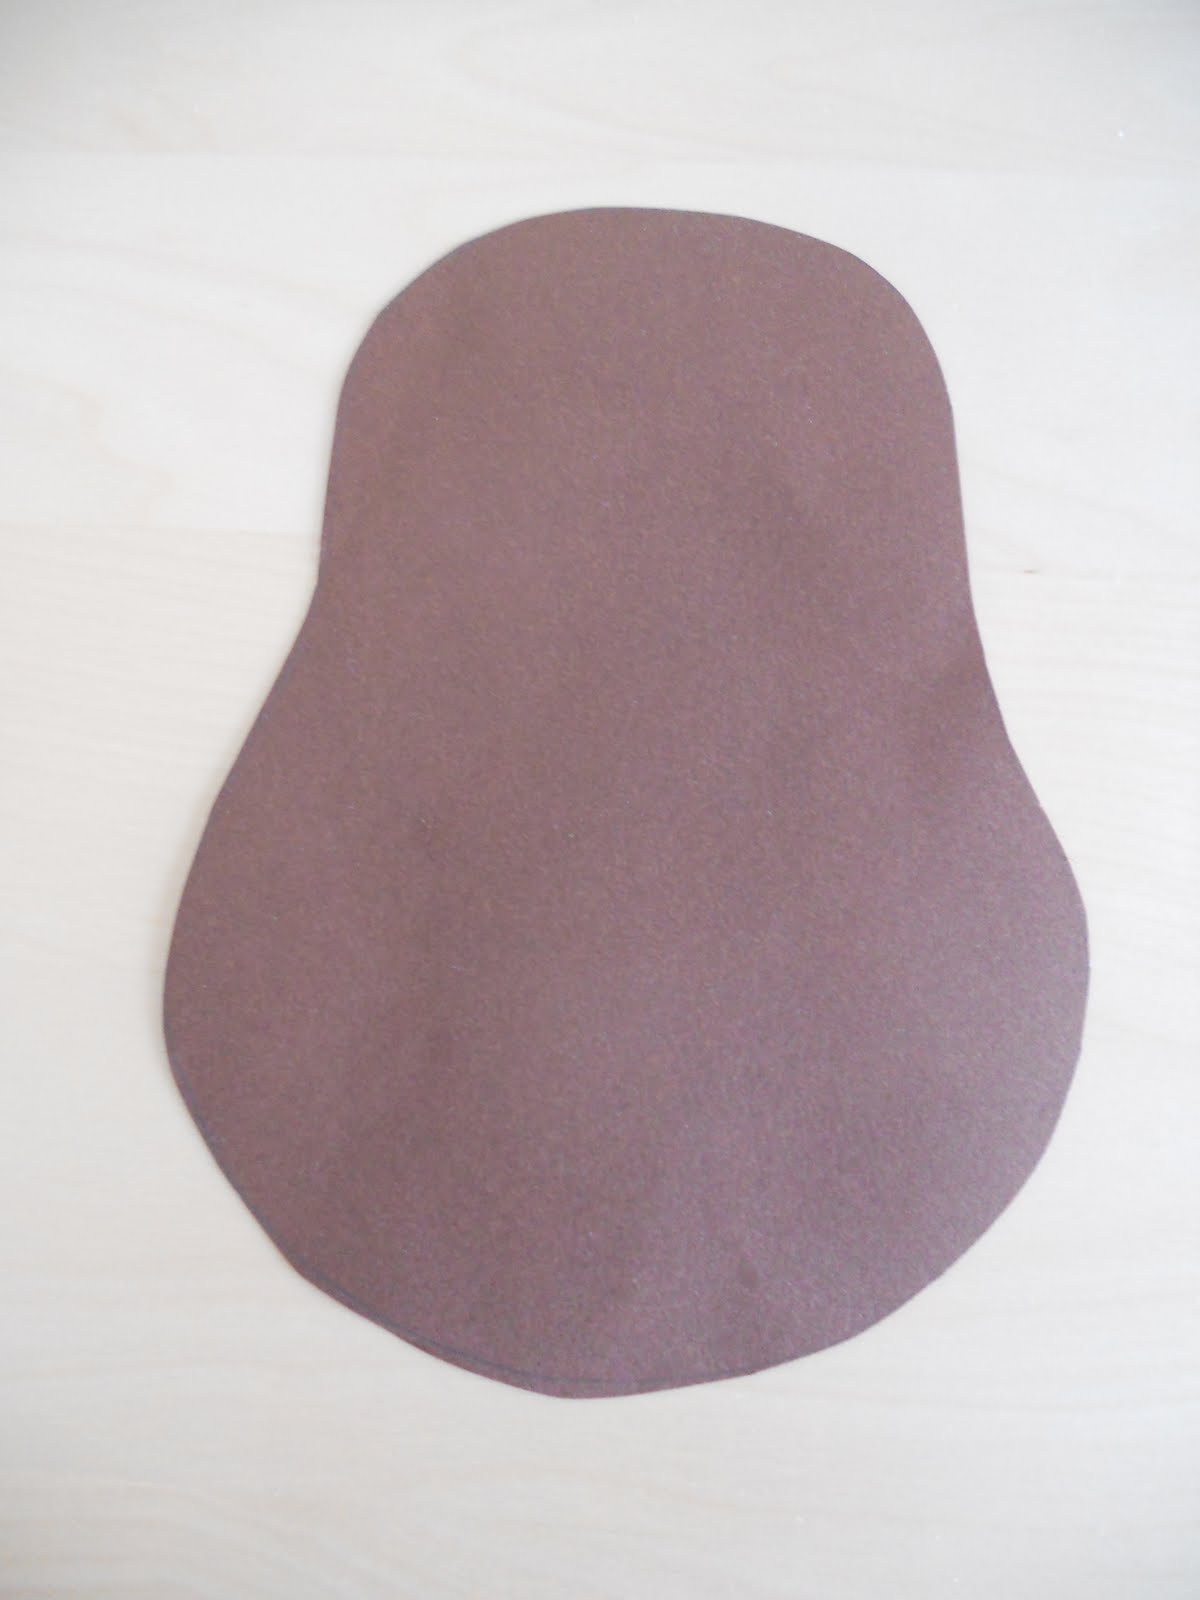
For this station, I cut out a potato shape from brown cardstock for each child and provided them with a variety of features to choose from, including shoes, hat, arms, noses, mouths etc to glue onto the background shape with a gluestick. Obviously,  younger children might need help with this activity. Each guest can take home their creation at the end of the party.
Variation: Print out the shapes onto sticker paper.
I didn't do this since the adhesive paper is quite expensive.


The link to download the features can be found here
Template for the body can be found here I found the body to be too large for the features so I reduced it on the photocopier to 70% before cutting out the template.
It could have been a bit smaller.


 Image source: http://twilightsummer.deviantart.com/art/ToyStory-Woody-110822912

Station #2: Woody's Shoot-out
Knock down a pyramid of plastic cups with a water pistol. This activity should be done outside, we played this game on the front lawn. It was little too difficult for the younger children. The older boys had a great time, they asked to do it again and again.I was so involved with running the games, I forgot to take pictures.
You'll have to use your imagination.

Image source: http://www.allposters.com/-sp/Toy-Story-Buzz-Lightyear-Posters_i5239758_.htm

Station #3: Space Ranger's Training

The hunt for moon rocks.


Sort of looks like a rock, you get the idea. The moon rocks were hidden throughout the front and side yards for the children to hunt down. Sort of a space themed easter egg hunt, if you will.
Prizes inside were small toys like parachute army men, bouncy balls, toy story note pads and silly bands.

Image source: http://www.thetoyshop.com

Station #4: Jesse's Lasso Challenge
This game involved "lassoing" a toy cow. I thought using rope might be a tad dangerous with small children around (think choking) so we used frisbees with holes in them, sort of like ring toss.

Decorations:
In addition to the usual streamers and balloons, I made this centrepiece from a box, paper and templates from the Disney website. Lots of free templates, crafts, etc can be found there, with all sorts of characters.


The aliens are easy to put together, Woody and Buzz are more challenging. Prepare yourself for lots of cutting and gluing. Since this is paper, it's not exactly the most kid friendly thing. All the kids wanted to play with it. Looks cool though. And since it's just paper and glue, it's practically free. Woody is technically a marionette, but I cheated by mounting him on a skewer instead of hanging him. I covered the box with blue paper and cut out white clouds that sort of look like the wallpaper in Andy's room. Each little character has toothpicks taped to the inside. I drilled holes in the box with my cordless drill and inserted the toothpicks. As I said before-toothpicks are not appropriate for young children. This was meant purely for decoration-but of course all the kids wanted to play with it. I had to explain over and over that it was only made of paper!

This party was not without it's challenges-rain, last minute change of venue, wet grass and mud, and a small space. I must admit-I was exhausted after this party! 


Wednesday, June 8, 2011

Woodland Fairy Party

I saw this party theme idea in the May edition of Paren'ts magazine. In fact, there were lots more of great ideas, all under $100. But this particular one struck a cord with me. I actually saw faux wood grain wrapping paper at the AGO giftshop for 99 cents, but wasn't sure what I would use it for. Now I know!

Isn't the cupcake stand fantastic? Love it.

 Image source: http://www.parents.com

Toadstool cupcakes? Easy and so cute.  I like the use of two different sizes.

 Image source: http://www.parents.com


Image source: http://www.parents.com

I found wings online for $4-$5 a pair.Oriental Trading Company has some monarch butterfly wings, they look pretty awesome. Link is here

I'm sure party packagers and some dollarstores also have them.
The headband and hat are made from paper. 


This theme reminds me of a Midsummer's Night Dream.Older children could dress up and act out scenes from the play. This is a blue sheet with white clouds attached to serve as a photobooth, but could also be the backdrop for the stage.
 Image source: http://www.parents.com

I have the photo printer already to print out the pics, kids can make the frame to take home as a favour.

See the website here for more details and instructions. Lots more themes for both girls and boys of all ages and price ranges.

Friday, June 3, 2011

Lady Bug Decorations

A friend asked to help her with some things for her daughter's first birthday. I didn't have alot of time to contribute, but I came up with these two quick projects.

 Directional Signs

The idea for these guys were to be signs to point the guests to the party, without giving away to much information such as the address or child's name. Guests were told to look for the ladybugs. One was at the entrance to the complex, one each on the front and back door. I made them from cardboard and acrylic paint. I painted them freehand, so they are not all perfect, but since they would not be side by side, it didn't matter. They are quite sizable, I used the lid from a paper box. Easily seen from a distance. I think the middle one is my favourite.

Leaf cupcake flags
These little guys are so easy to make and look adorable. 
Materials:
  • toothpicks
  • green paper
  • red dot stickers
  • black marker
  • glue stick


 Cut out a leaf shape from green paper.

 Add some red dots (the body of the lady bug)

 Draw on the details with black marker.

Add a bit of glue and roll the stem of the leaf around the toothpick.

Of course, try not to touch the pointy end of the toothpick, or wear gloves. It's easy to whip up alot of these in a very short period time. I made a dozen in about fifteen minutes.
If you are considering a theme for a young child's party, especially if that party is in a backyard or park I encourage you to use a ladybug theme. There is so much available online-free printables, games, activities etc. If you can't find ladybug decorations, they are easy to make. Or simply use red/black/green as your colour scheme.

Tuesday, May 10, 2011

Re-post: No Sew Felt Bunting

I mentioned recently that I was thinking about making felt bunting banners that could be re-used again and again.  This morning I came across a great tutorial from Style at Home, you can find it here


The instructions look really easy- I am thinking about upgrading the twine to some thin satin ribbon and maybe adding some decorative stitching.

Thursday, May 5, 2011

Re-post:Tissue Paper Pom-Pom Tutorial

 Image source: http://www.chatelaine.com

I love pom-poms. They're easy to make, cheap and look fantastic. Here's a great tutorial from Chatelaine. Here-the main purpose is a present topper-I love this idea, but the photoshoot also demonstrates them as a hanging ornament.

 Image source: http://www.chatelaine.com

Great way to dress up a room or backyard for a party, or even all the time. I see lots of photos with pom-poms in baby and children's rooms.
I picture them hanging from trees during a backyard event-a wedding, a shower, anniversary or birthday.Tissue paper is available in so many colours and patterns now, it's so easy to co-ordinate colours to match any event or room. Small price tag, big impact.

Friday, April 29, 2011

Hoppy Birthday Banner


Materials:
  • card stock in your choice of colours (2-4 colours)
  • letters (stickers, scrapbooking or cut your own)
  • ribbon
  • glue stick
  • pencil and ruler
  • scissors
I used pre-cut card stock for this project, which makes it easier and faster than a circular garland. I bought a package of pre-cut cardstock in four colours at the dollarstore. Each piece is 61/2 inches by 41/2 inches.
First decide on what you want the banner to say, as well as any additional decorative pieces. Lay out your pieces so you can see how it looks before you start. Once you are happy with the colours combinations, cut our all your letters I used a combination of white, off-white and two shades of  brown. I drew the letters freehand, but feel free to use a template or pre-cut scrapbooking letters or stickers. Lots of options available at dollar and craftstores. Once you like what you see, glue on your letters and embellishments-lining them up all the bottom edge will help it look even.


I added a silhouette of a bunny wearing a party hat to each end of the "hoppy" banner. I cut out the bunny, the triangle and the pom pom from paper and drew the details with a pencil.


Next I made a "pocket" for the ribbon by measuring out an one inch fold and gluing it to the back side. I applied just a thin strip of glue-don't glue the pocket shut. Think of a curtain panel, the ribbon will be like the rod. I used the side of the glue stick to get a very thin line.

Once all the glue is dry, slide your ribbon through each letter, making sure the letters spell out the word correctly and knot the ribbon on each side. I did the banner this way because I wanted to be able to re-use parts of it. I can keep the "birthday" as is, and take out the bunnies and the "o" from "hoppy" to change it to a standard birthday banner instead. Just un-tie the knot and slip off the letters.

It's actually really easy to make a custom banner, they look great and can be customized. Much better than the tin foil ones at party stores. For the instructions on how to make a circular banner, check out the "sweet pea" banner here

 
I am thinking about making some felt garlands and pennant banners, they'll be longer lasting and can be used in various ways for lots of different kinds of events.

Thursday, April 28, 2011

Hoppy Birthday Party

Date: Sunday April 24, 2011 (Easter Sunday)
Location: Mississauga, ON
Guests: 10
Budget: $75


 Menu:
  •  Crackers and Cheese platter
  • Thai Chicken bites with Sweet Chili dipping sauce
  • Veggie Platter
  • Mini Samosas
  • Fruit platter
  • Strawberry and cream trifle
I made all the platters myself. Prepared veggies, fruit and cheese trays are so expensive. If you have the time, it is well worth it to make it yourself. My only suggestion is to buy the fruit ahead of time, so it has time to ripen. Which I didn't do-thus no melon. The cheese I got was on sale, as well as the grapes and strawberries. The samosas are pre-made, but were a good price and baked rather than fried. For the chicken bites, I simply baked the chicken breasts in the oven, sliced into cubes to be eaten with toothpicks. Now that I think about it, no one even used a plate! So I didn't have to wash dishes. Bonus!
The spread: it's it so colorful?
    Mini Samosas: very yummy. Next time I will add a yogurt dipping sauce
    Maple Leaf Prime Thai Chicken, comes with the sauce. I had a coupon for $2 off.
      
    Grapes, strawberries and pineapple. No melon, they weren't ripe.

    Old Cheddar, Goat Cheese with herbs, Marble, Havarti

    Various peppers, celery, cucumbers, grape tomatoes

    Trifle: angel cake, whipped cream and strawberries
     The trifle was an accident-it was meant to be a strawberry shortcake inspired birthday cake. It fell apart when I added the second layer. It fell to pieces. Epic fail. In a panic, I called my sister, since it was Easter Sunday grocery stores were closed. She said "do you have a bowl? Make a trifle". Thank goodness. She also picked up a carrot cake from a small market that happened to be open, just to be safe. We could have gone without it, but I was worried about it. But it tasted great after all. Silly me, I failed to stick to the plan. A few weeks ago, I baked a test cake since it has been quite awhile since I actually baked a birthday cake. The test cake was great. Then I saw cake mix on sale for $1 and in my zeal to save money used the cake mix instead of my original recipe. Bad idea. The lesson-stick to the plan! 

    Decorations:
    • Hoppy Birthday Banner
    • Paper Streamers
    • Paper Bag Easter Baskets


     I made both the banner and the streamers from cardstock. The paper streamers are simple to make, you simply need a piece of paper, scissors and some tape to hang them up. You can find further instructions here. My original plan was to hang them all vertically from the ceiling, but I have stucco ceilings and they all fell down. So taped them to the wood shelf and in the doorways. It seems the theme of this post is "what went wrong", I don't want to give the impression that the party didn't go well because that is not the case at all. This just goes to show how things don't always go according to plan, it's good to have back-ups because you never know.

    Paper Bag Easter Baskets:
    These paper baskets are so easy to make, and look great. All you need are paper bags, scissors and some tape. The instructions on how to make these are here. I added a paper flower for the girls, and a bunny for the boys. Inside the baskets were bubbles, small toys and some chocolate eggs. The grass is green paper I shredded with a paper shredder. Easy, cheap and recyclable.


     Rosette hair pins:
    For each girl, I made a felt rosette hair pin. Simple to make. You can find the templates and instructions for free all over the internet. Find one you like, and go for it. It only takes a few minutes. As many of you know, felt is my favourite crafting material and this project is a great way to use up small scraps.


     Activities:
    • Dye Easter Eggs
    • Egg Hunt
    • Golden Egg Challenge
    Even though we are all adults (no kiddos yet) my sisters wanted to dye Easter Eggs. Some of the boys hadn't ever dyed eggs before, and they really got into it! We used both store bought kits, as well as food colouring and vinegar dye. The store kits did not work as well as the dye. And the smell! Ugh, so were awful. My favourite eggs are the ones we dyed with food colouring. We used dental floss, elastic bands, stickers and wax crayons for the patterns.


    Egg Hunt:
    I hid plastic eggs with candy inside all over my apartment, and outside on the balcony. It might sound silly, but it was really fun. I think I hid the eggs too well, I found an unfound egg the next morning.

    The Golden Egg Challenge:
    This was the birthday boy's idea. He wanted a game where the winner won a golden egg trophy. I found a "golden egg" aka a yellow glass blown egg on clearance at Home Sense for $4. The birthday boy invented the game, which consisted of knocking down a pyramid of plastic cups with a Nerf dart gun. The person who knocked the cups off the table with the fewest darts won the golden egg. The birthday boy won (of course). So he gets to keep the egg for a year, and is responsible for coming up with next year's challenge. We'll keep the tradition up from year to year, passing the egg around. Again, silly but fun.