Tuesday, October 5, 2010

Medieval Theme Decorations: Goblets


Faux Crystal and Gem Goblets


This is the easiest and quickest of all the crafts I made for the party.

Supplies:
Plastic wine glasses (one per guest)
Rhinestone or gem stickers (assorted shapes and colours are best)

Simply attach the stickers to the wine glasses-any patterns or colours you like.
Big hit with the children. One guest remarked "but they're not glass!" Can you imagine a group of seven year olds with glass goblets? Several children took theirs home.

*note: one time only use. The stickers will fall off if you wash the goblet. Or, take the stickers off, wash, and then reapply.

Really affordable craft. One package of 4 glasses is $1. I bought 2 packages of stickers at $1 each. Therefore 8 glasses totals $4, or .50 cents per glass. Plus, I had a lot of gems leftover.

This also works well as a craft the kids can do upon arrival, or during the party itself.

Tuesday, September 28, 2010

Medieval Theme Decorations: Scroll Invitations


Easy to make scroll invites:

Supplies:
  • parchment coloured paper
  • 2 wooden dowels per invitation
  • scotch tape
  • ribbon
  • computer with word software
  • clip art or graphic with medieval theme
  • printer
Step one:
Using word software draft the text for the invitation. I used Lucida calligraphy font, to appear as if it was hand written. The text I used reads:

By Royal Proclamation
Sir___(name) of___(street name)
Requests your presence in celebration of the day of his birth
(date and time)
on the grounds of castle (address)
we will enjoy a sumptuous feast, games and revelry
RSVP to Lord and Lady (last name)
Sincerely,
The Royal Messenger
Step two:
Add a fancy graphic. I used a coat of arms with a dragon emblem. There is plenty of free medieval themed clip art out there. I simply googled "coat of arms+dragon" and picked one I like. Use whatever suits your taste. You could also use a stamp or a metallic seal.

Next, print out enough copies as there are guests. If you don't have parchment coloured paper and don't want to buy any-you can use regular printer paper and stain each piece with a damp tea bag. Another option is to carefully burn the edges of each invitation to add to the aged effect.


Step three:
Tape the wooden dowels to both the top and bottom edges of the piece of paper. Tightly roll the paper around each dowel to hide the tape.

Step four:
Roll up each invitation and tie with ribbon. Hand deliver them to your guests. You could mail them, but it's not as authentic, nor as much fun.


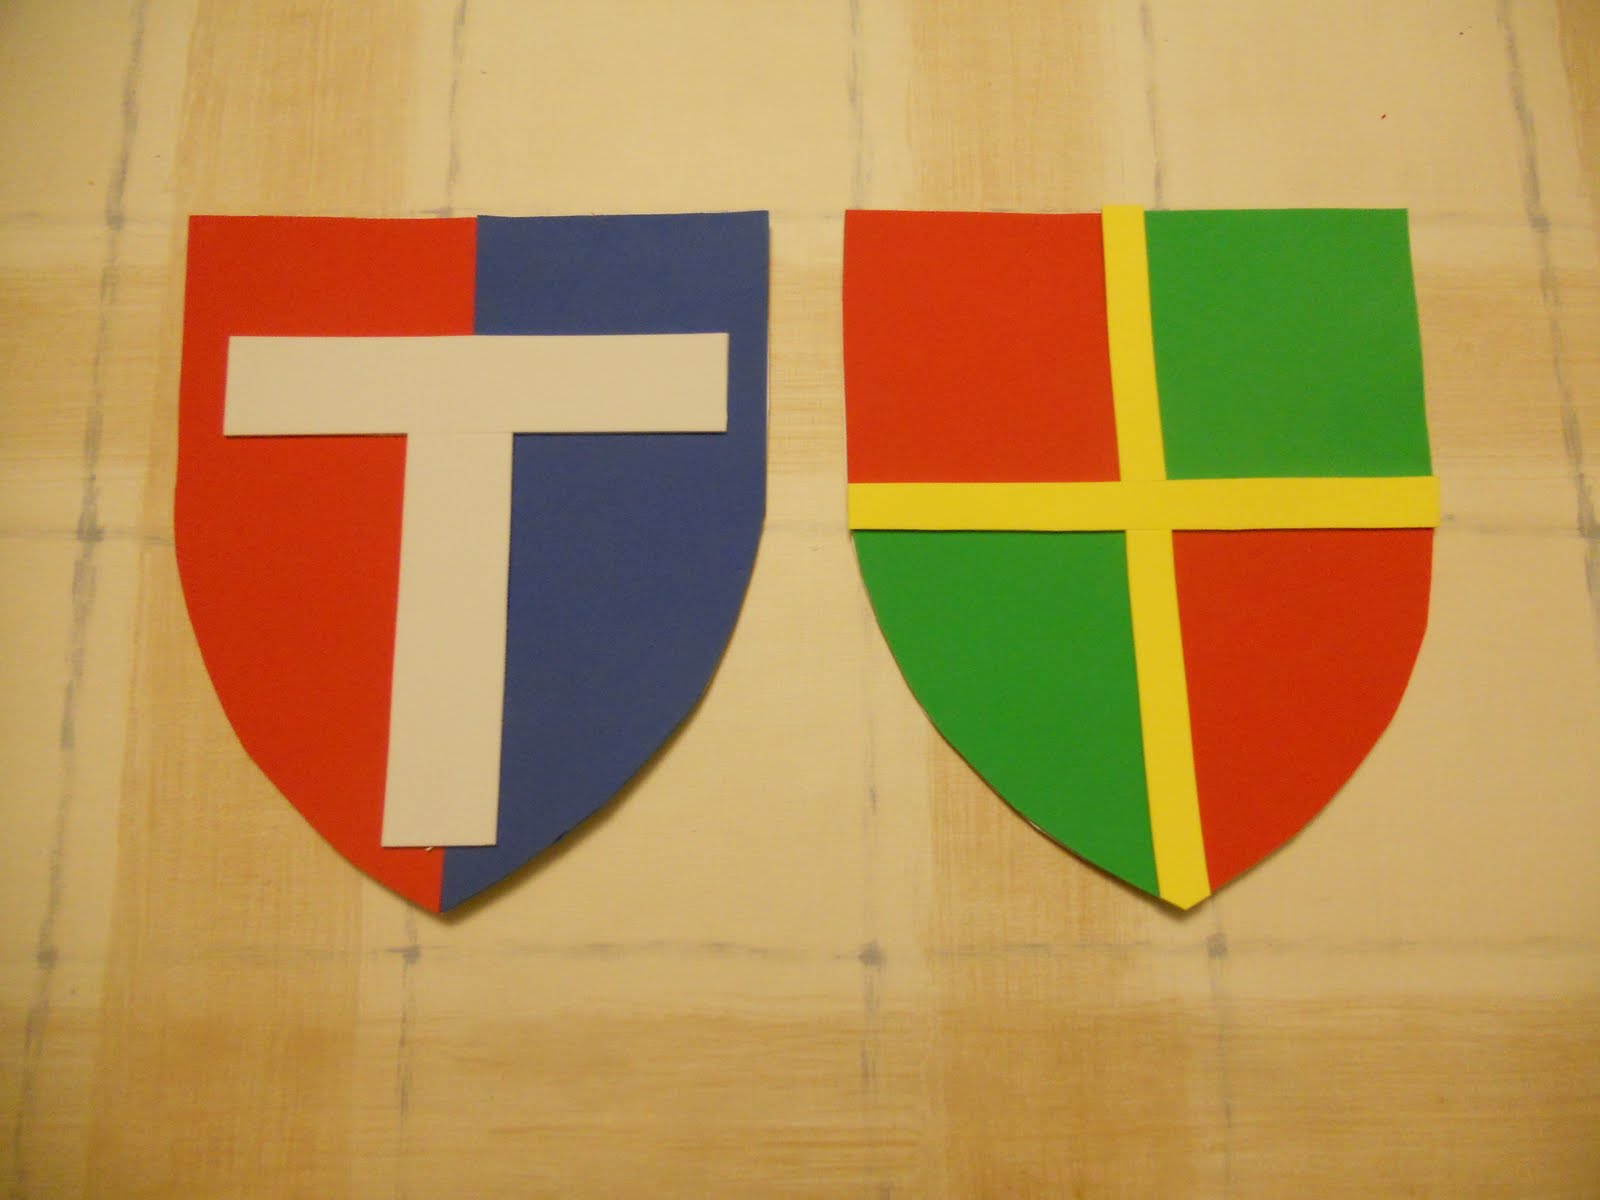
Medieval Theme Decorations: Coats of Arms

For an upcoming boy's birthday party, I have started working on Medieval themed decorations.
This project is really easy, only costs a few dollars and looks great.

DIY Coats of Arms
Supplies:
  • adhesive backed sheets of craft foam
  • scissors
  • pencil
  • template for shield shape-create your own or find one online
  • template for medieval emblems such as crosses, stars, fleur de lis
This project is actually very easy. By using craft foam with adhesive already on the back, you can eliminate the glue totally!


Shield Template I used

Step one:
  • Using your template, draw around the shield shape on the back side of the craft foam
  • Cut out the shield shapes


Black shield shape


Template for emblems
Step Two:
  • Find clip arts shapes-I used crosses, fleur de lis, stars and simple bands of colour
  • Draw around the templates on the back side of coloured craft foam
  • Cut out the shapes
  • Peel and stick the shapes onto the shield background
That's it! So easy! The hardest part is cutting around the shapes. Curves are more difficult than straight lines.


For extra credit-cut the shields into halves and quarters and switch the colours around, as shown above.

Stick the shields up around the party room to add to the royal atmosphere.

Tuesday, September 14, 2010

Staff BBQ


*To protect the privacy of the guests, no names or photos of guests are included in this post

Date: Saturday August 28th 1-4 pm
Guests: 40, staff plus families
Location: Erindale Park, Mississauga On

Menu:

  • Hamburgers
  • Veggie burgers
  • Chicken breasts
  • Sausages
  • Assorted condiments and buns/pitas
  • Potato salad
  • Pasta salad
  • Coleslaw
  • Assorted drinks
  • Watermelon slices
  • Chocolate or vanilla ice cream cones
I also opted for biodegrable plates and cutlery, to green up the bbq a bit. I hate to leave so much garbage behind.

Catering by Simply BBQ, see website for more details

Simply BBQ provides all the necessary equipment and handles all the set-up, which includes a trailer bbq and service canopies.
They even bring along the music! The staff was fantastic and very easy to work with. See the photos on their site for more information.

Details
:

Since we had a mixture of very young children, adults and teenagers I allowed for a free form event. Nothing was "scheduled". I added additional service time for the bbq in case some families with young children were a bit late getting to the event. The atmosphere was quite casual, and I think the guests enjoyed the ability to relax and mingle with colleagues and their families in an informal environment.

I supplied lawn games such as frisbees, nerf toys, lawn darts, ring toss and horsehoes and allowed the guests to structure the games any way they wished. The nerf football and frisbees proved popular with the teenage boys.


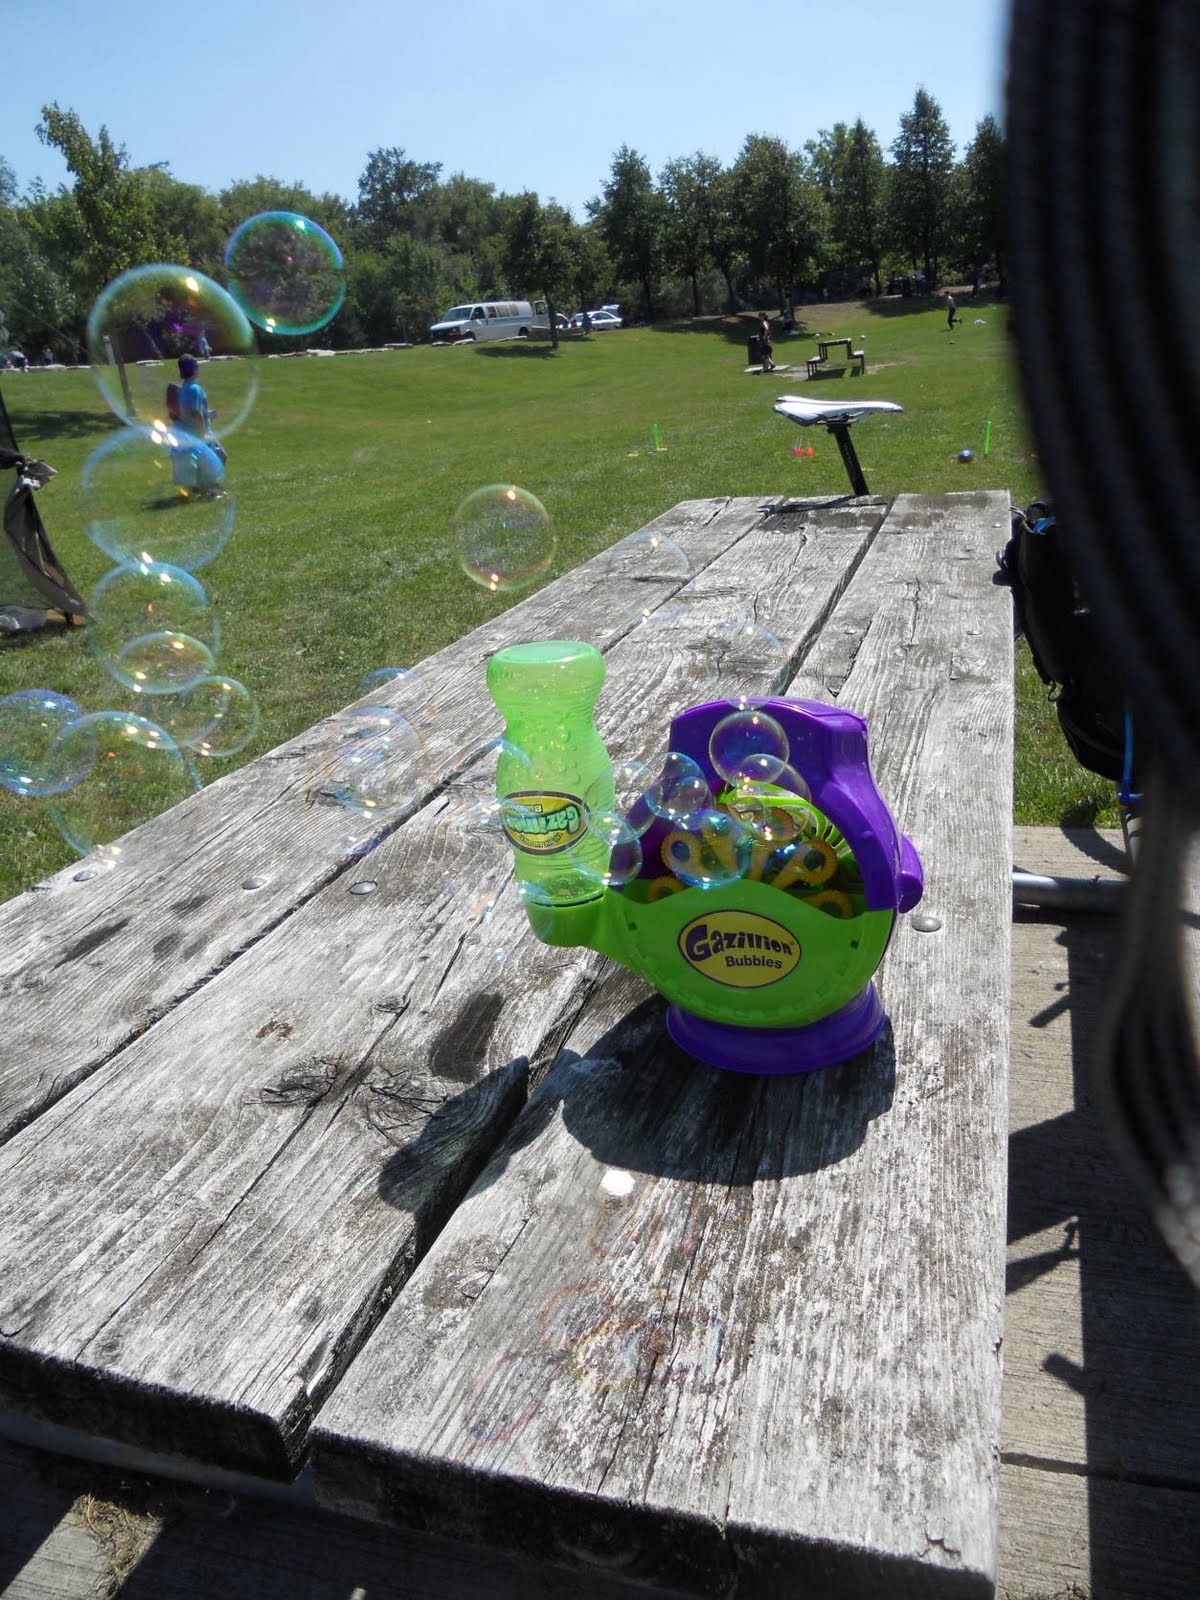
The battery powered bubble machine was fantastic. However-it sure went through alot of bubble solution very quickly. I'll be sure to bring a large jug next time I use it.


The picnic area features a playpark for the children, which they enjoyed throughout the afternoon.


Here is the site before the event-not much there

The weather was quite windy, more than I expected. I managed to jury rig tie downs for the plaid tablecloths with some twine. Some early arrivals helped me out. Thanks guys!

The weather forecast indicated it would be quite hot and humid. Knowing the picnic area is a wide open grassy field, without much shade I brought along a pop-up gazebo tent, similar to a camping dining tent.

This was the best idea of the day! Guests quickly labelled it " the baby tent". Six babies have been born to the staff in the past year, it was great to see them all, and for the parents to all meet each other.

I knew it was successful when the guests lingered long after the official end date of the event-especially the babies. They were amongst the last to leave!

Lootbags were provided for all guests, with specific items removed or added depending on the age of the guests. Some examples of items-pencils and erasers, bubbles, balls, hair clips for younger girls and socks for the babies.

Overall-success!


The Credit River

Wednesday, August 18, 2010

Ice Cream Cone Balloons

Make "ice cream cones" with a bunch of helium balloons, and some brown kraft paper cones. Genuius!


Image: http://thecraftsdept.marthastewart.com/2010/08/lauras-baby-shower.html


Today's post comes via the great Martha and her team at the Crafts Dept. I love this idea so much, I had to share. It's so easy, and it looks so great. The team made them for a baby shower, but I would use them for a kid's birthday, a family reunion or any other summer time event.

Wednesday, August 11, 2010

Paper Lanterns

Paper lanterns are hot right now, for both party and wedding decorations.
Personally, I love them. If done right, they look fabulous.
Another big bonus is the price! They're super affordable, and come in a variety of shapes, sizes and colours.

I had intended to use white paper laterns to dress up a feature on the grounds of the Living Arts Centre. For lack of a better description, let's call it a "stage". My idea was to shoot some cool wedding shots using the structure.


The "stage"-wouldn't paper lanterns look cool?

I picked up round, white lanterns into two sizes-small and large from a party supply store. I only wanted a few, so I didn't want to order them online. Perhaps I should have. The ones I bought didn't form a sphere well, they were ended up as odd shapes. So, sadly I didn't use them. When buying lanterns, go for the good quality. They might cost more intially, but it will be worth it in the end.

Luckily, our photographer was able to get some amazing shots anyway. Here are some of those shots....


Photography by Red Garter Studios

My point-I still love paper lanterns. Any shape, any colour. Hang them from poles, from trees, attach them to sticks and drive them into the ground. If you have a clothesline, string some up there. They are an easy and fun way to decorate a backyard for a party. Ikea even has solar powered paper lanterns in red, white or turquoise. Love, love, love.


Party supply stores usually carry them in the summer months. They are also sold online. Chinatown of course, is an obvious source. Dollar stores do have them, but they can be cheaply made. Buy one or two, and try them out first.

Check out my party décor board at pinterest.com for some of my favourite pics of paper lanterns.

http://pinterest.com/razledazlerose/party-decor/

Wednesday, July 28, 2010

Digital Bulletin Board

I recently discovered pinterest.com, a site that functions as a digital bulletin board. Instead of adding websites to your bookmarks toolbar, you can "pin" things you like to your "pinboard".

You can create pinboards about anything. Several templates are pre-loaded with titles such as "books to read", "for the home", "my style pinboard" etc, but can delete or edit these, as well as create your own category.
The site is very easy to use, just drag the "pin it" widget into your browser toolbar. When you come across something you like, click on the widget. A new window pops up- you can select exactly what you want to pin, and to which category.

Next add a description and tags. The site will automatically add the source, no need to keep track yourself!

Pinterest is also linked to facebook and twitter. You can "follow" other users, and "repin" items you like to your own pinboards.

To create an account, you have to sign up for the waitlist but I found it was very quick. Once you are signed in, you can invite up to five friends to join as well.

To see more, follow my pinboards here